Repairing Your Home After Storm Damage
Florida homes face the threat of severe storms throughout the year, with hurricane season bringing additional risks from June through November. When weather damage strikes, protecting your home requires quick, informed action. This comprehensive guide will walk you through the essential steps of post-storm recovery, from immediate safety measures to long-term protection strategies.
Prioritize Your Safety
In the aftermath of a severe storm, your safety takes precedence over tackling any repairs or assessments. Even when the skies clear, hidden dangers can persist. Here’s how to protect yourself and your loved ones during this critical time:
Stay Informed and Wait for Clearance
If you evacuated, monitor local news for updates on when it’s safe to return. Even after the main storm passes, dangers like extended rainfall, flooding and secondary weather systems can create unsafe conditions. Wait for official confirmation that your area is safe before heading back.
Approach With Caution
Once home, be cautious while surveying your property. Keep an eye out for downed power lines — always assume they’re live and dangerous — and avoid standing water, which may contain hazards like hidden debris, sewage or even active electrical currents from nearby lines.
Wear Protective Gear
Dress appropriately to prevent injury. Sturdy shoes, gloves and long clothing are essential when moving around storm debris. For areas with significant damage, consider safety goggles and a hard hat, as loose tree branches and damaged materials can pose threats.
Be Prepared for Emergencies
Have an emergency kit nearby, stocked with essentials such as first-aid supplies, bottled water, non-perishable food and flashlights. Avoid using tap water until local officials confirm it’s safe, as contamination can occur during severe flooding.
Practice Generator and Gas Safety
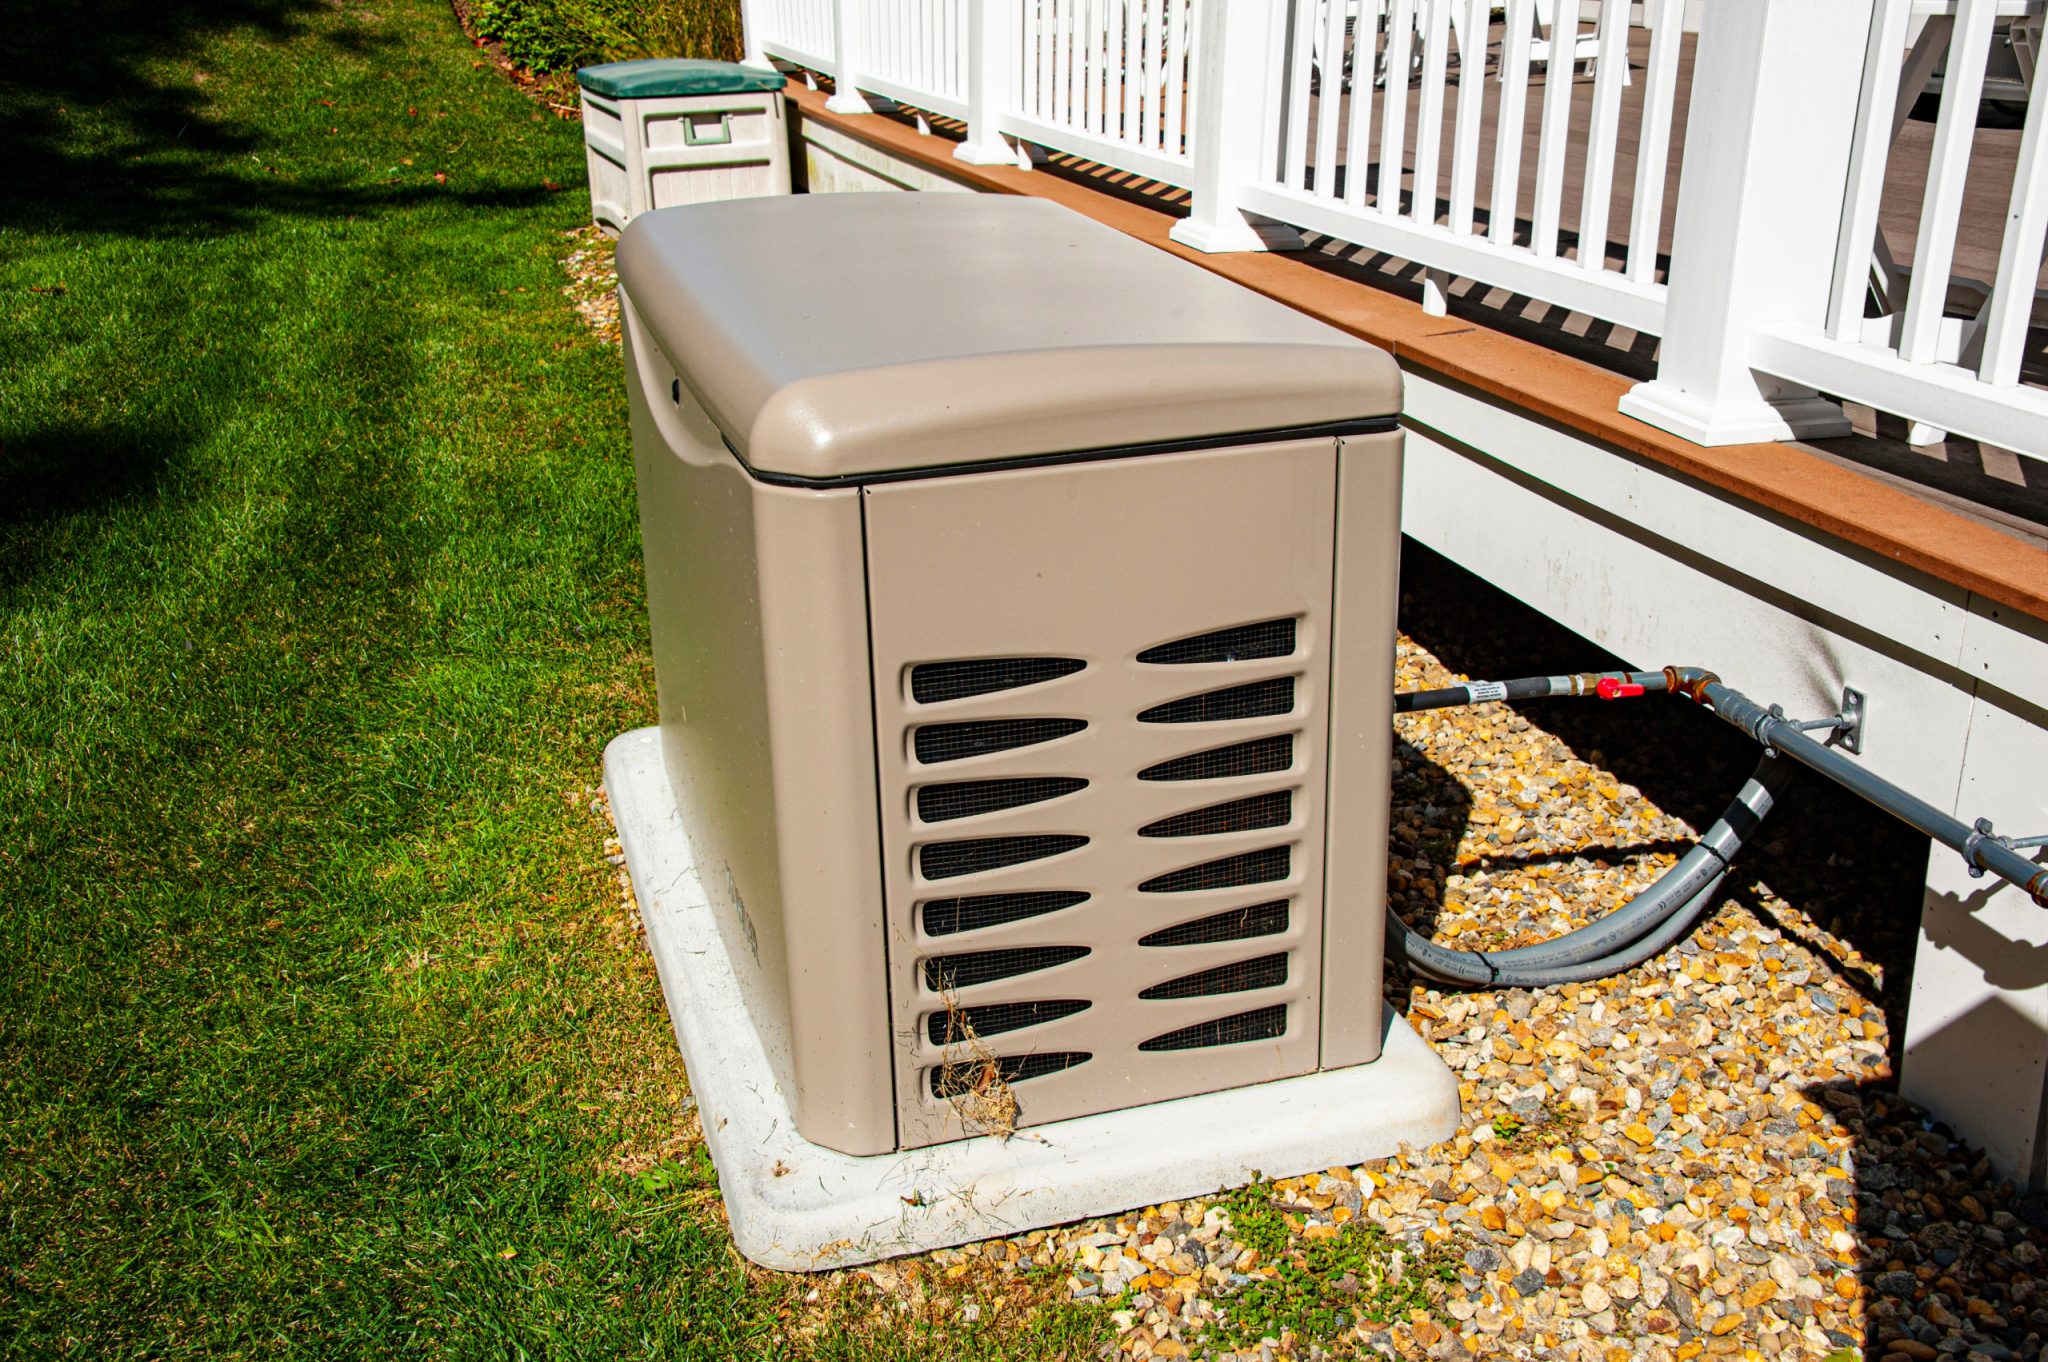
If using a generator, position it outdoors and away from doors or windows to avoid carbon monoxide buildup. Similarly, if you smell gas or suspect a leak, shut off the main gas line, open windows and immediately leave your home until authorities deem it safe.
Storm recovery can be daunting, but taking these initial safety measures will ensure you’re in a stable position to assess any damages and move forward confidently.
Assess Your Home For Damage
Once you’ve ensured your immediate safety, it’s time to take a closer look at your property. A detailed inspection helps you prioritize repairs and provides essential documentation for insurance claims. Here’s a step-by-step guide to assessing storm damage effectively.
1. Start With a Careful Exterior Inspection:
Begin by examining the outside of your home carefully, looking for:
- Structural impacts like fallen trees, compromised windows or loose siding.
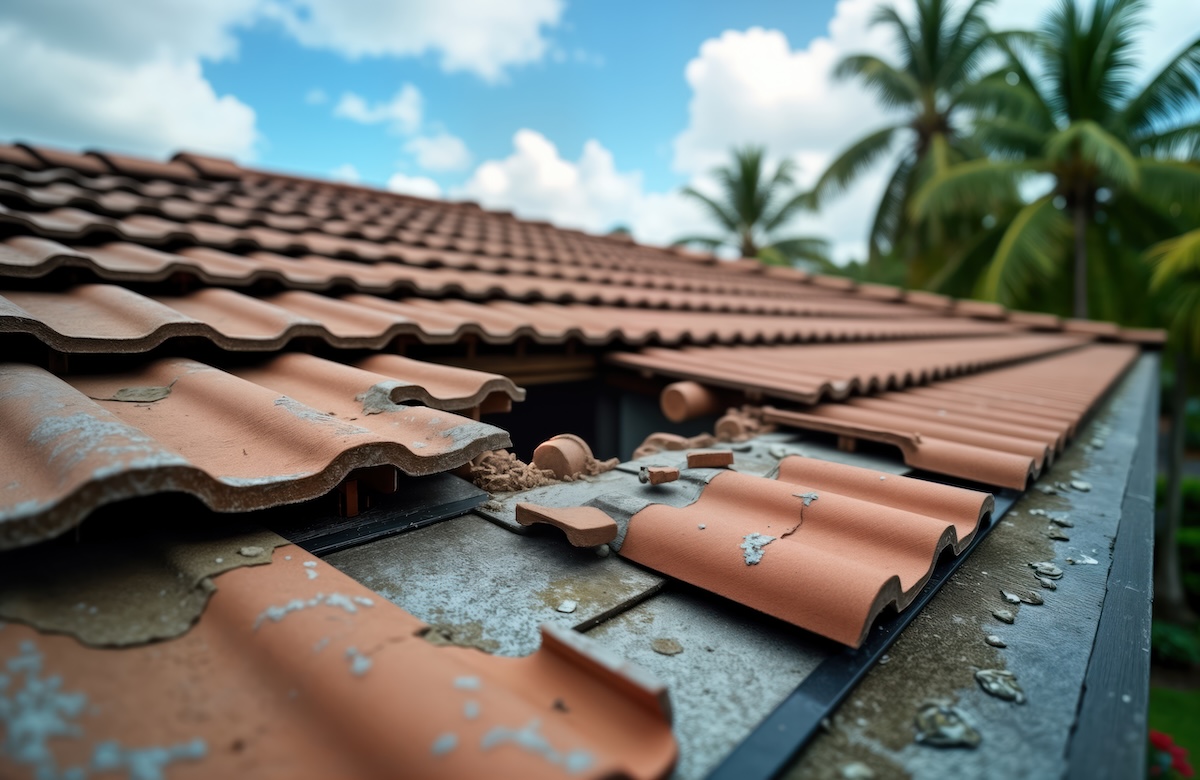
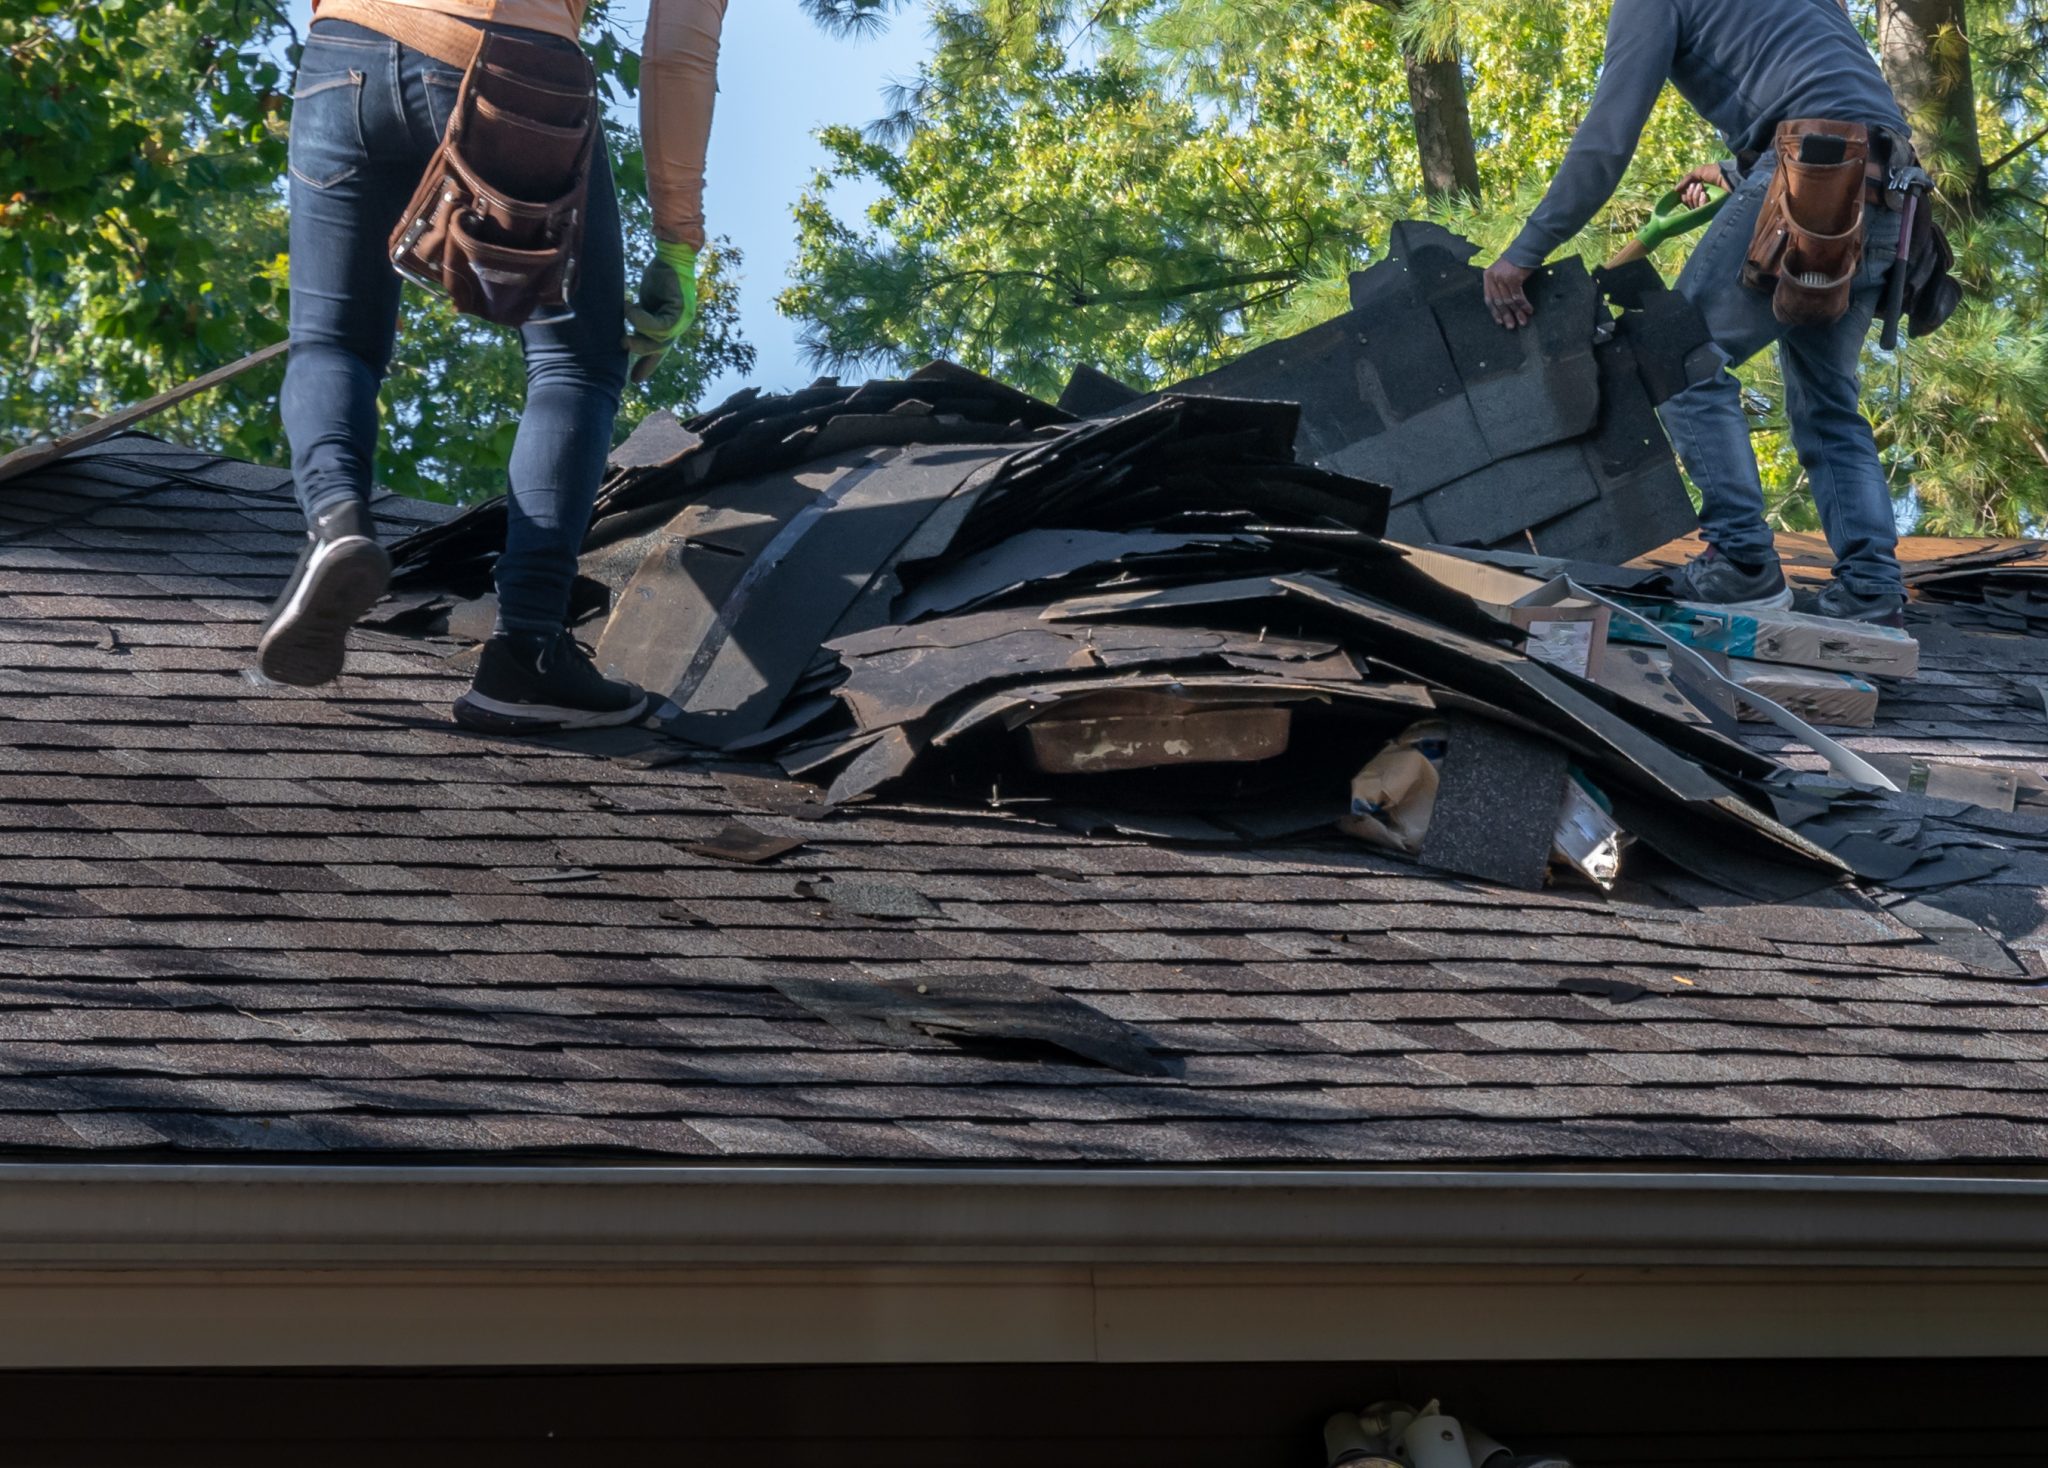
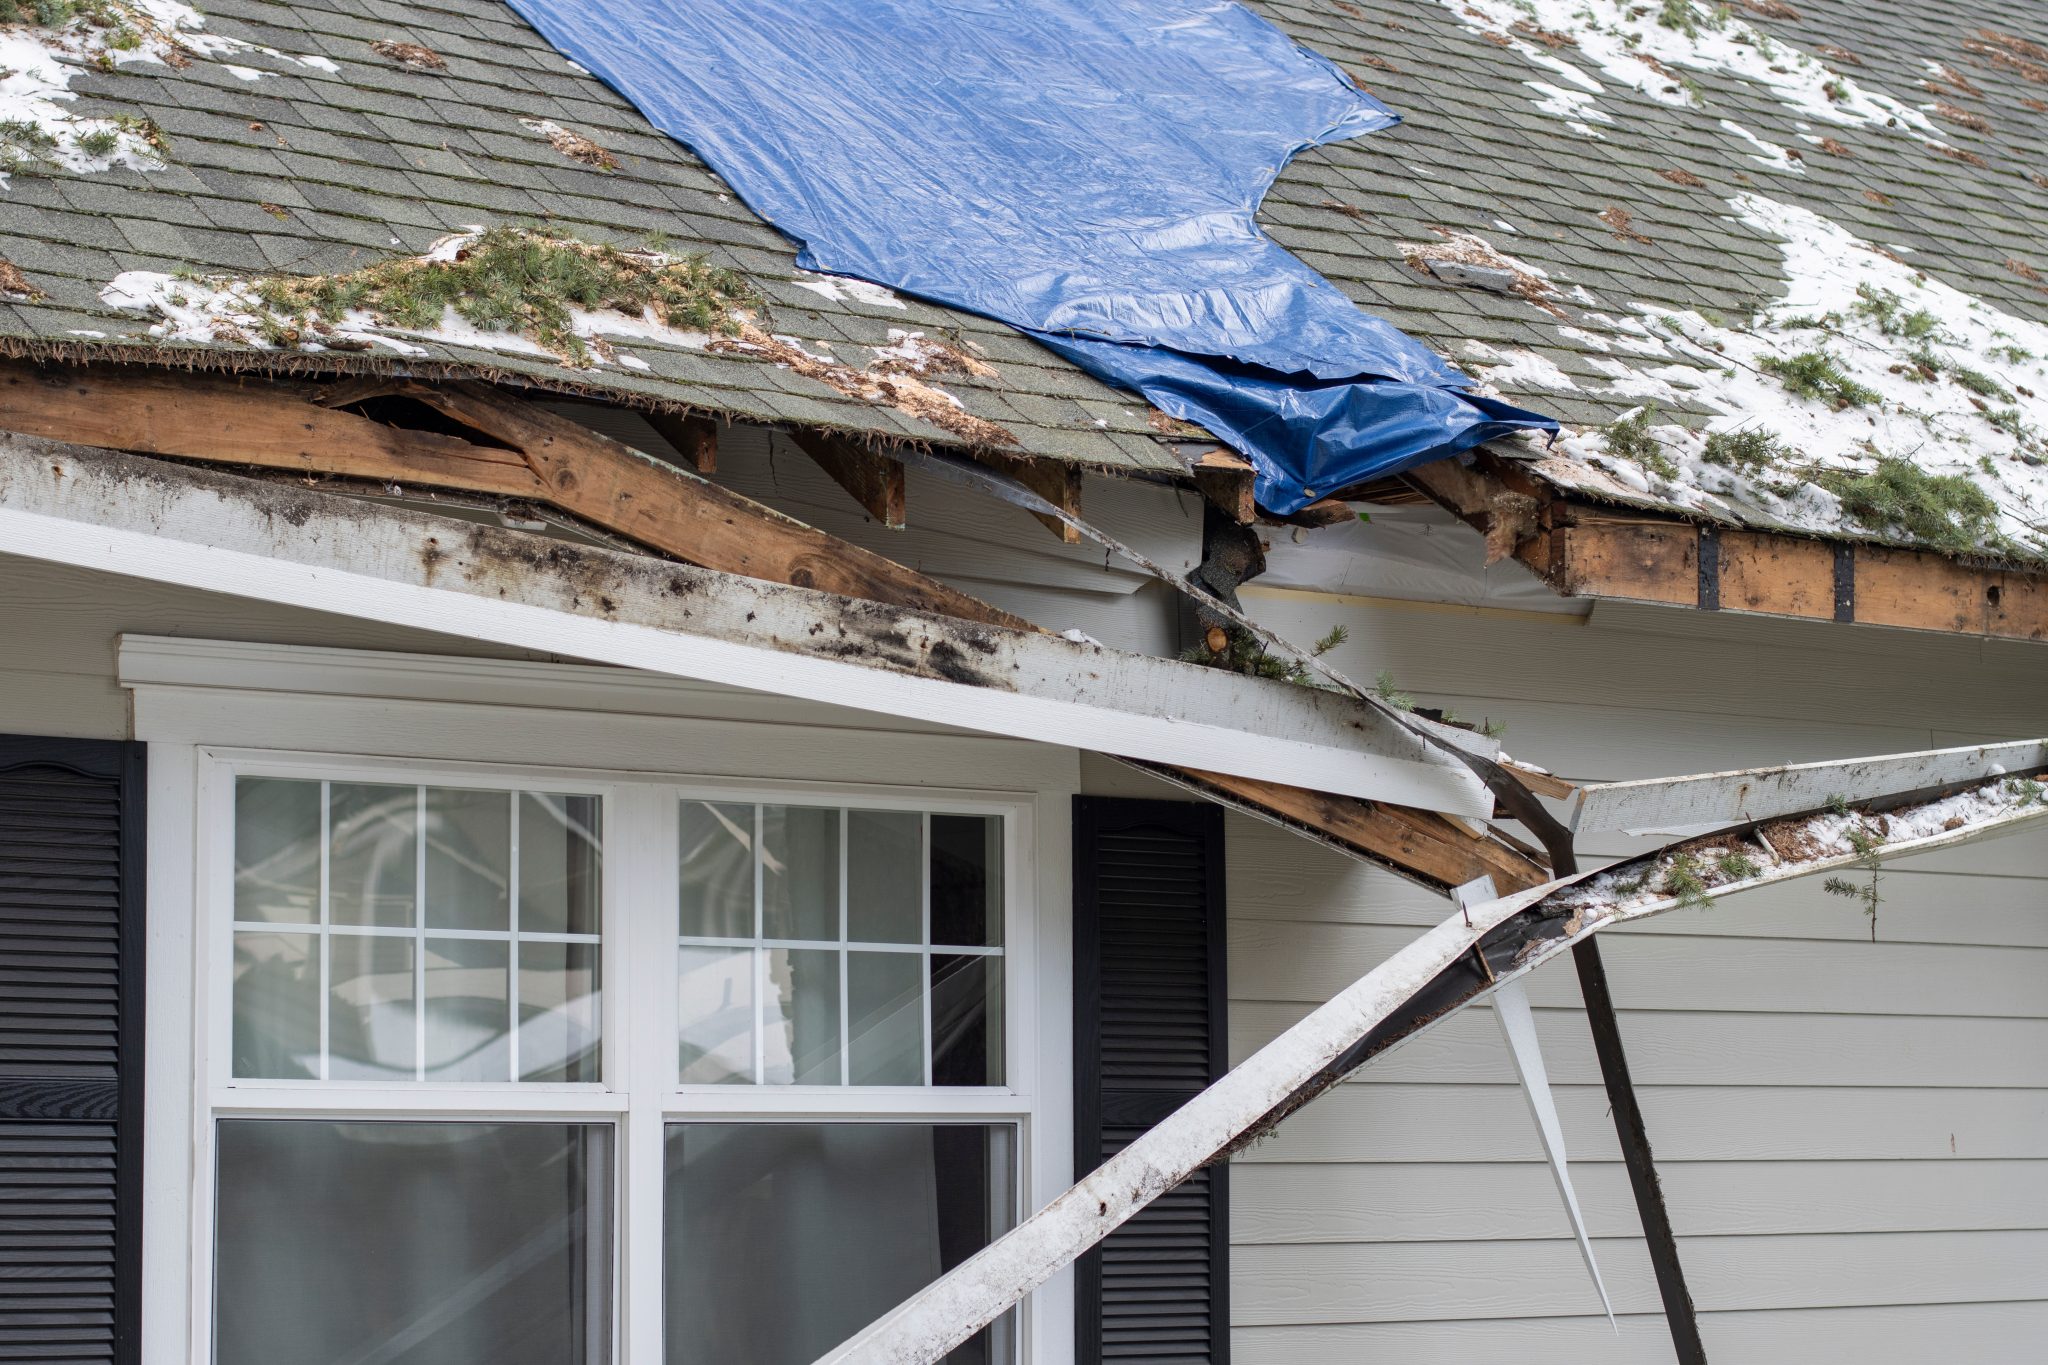
- Roofing damage, including missing shingles, lifted metal panels or impact points from debris.
- Gutter and downspout issues that could lead to water intrusion and foundation problems.
- Signs that windows or doors have been compromised, such as broken seals or damaged frames.
2. Evaluate Interior Spaces for Water Damage:
Enter your home cautiously and check for water-related issues:
- Look for water stains, bubbling paint or discoloration on ceilings and walls.
- Check flooring for warping, separation or soft spots that indicate water damage.
- Inspect areas around windows and doors for moisture intrusion.
- Look for early signs of mold, especially in areas exposed to moisture. If detected, consider professional removal to prevent spread.
- Check the basement for standing water if the sump pump has stopped working. Only enter flooded areas after confirming the power is off to avoid risk of shock.
3. Inspect the Foundation for Structural Issues:
Pay close attention to signs of structural damage:
- New cracks in walls, especially around doors and windows.
- Gaps between walls and ceilings or floors.
- Foundation cracks or shifting that could compromise your home’s stability.
- Doors or windows that have become difficult to open or close.
4. Document Every Detail:
Thorough documentation is key to a smooth insurance process:
- Take clear, well-lit photos and videos of all damage, including close-ups and wide shots.
- Create an inventory of damaged items, including descriptions and estimated values.
- Keep receipts for any emergency repairs or temporary housing expenses, as these may be reimbursable.
5. Review Your Insurance Policy for Coverage Details:
Before filing a claim, review your homeowner’s insurance policy to understand what’s covered. Most policies cover wind and hail damage, as well as rainwater intrusion caused by the storm, but flood damage typically requires separate coverage.
6. Plan for Hidden Damage:
Not all damage is immediately visible. In the weeks following the storm, continue monitoring your home for new signs of damage, especially after rainfall. Issues like minor leaks or foundation settling may emerge over time.
Reach Out to Your Insurance Provider
After assessing and documenting the damage, take a moment to review your insurance policy details. Familiarize yourself with your coverage limits, deductibles and any special conditions for storm-related claims. Understanding these specifics will help you have a more productive conversation with your provider.
Once you’re ready, contact your insurance company to report the claim. Most providers offer 24/7 claims hotlines, allowing you to get the process started promptly. Keep a record of all communications, including the names of representatives, dates and times, as this may need to be referenced later.
In Florida, insurance companies are required under Statute 627.0629 to offer “discounts, credits or other rate differentials” for homes with wind mitigation features — construction techniques that reduce wind damage. If your property includes these features, such as reinforced roofing or storm-resistant windows, ensure your insurer has applied these credits, as they can lead to lower premiums and deductibles.
Your insurance company will likely schedule an inspection with an adjuster to assess the damage. Being present for this inspection allows you to provide any documentation you’ve gathered and address areas that might need closer attention.
If the claims process feels challenging or overwhelming, consider hiring a licensed public adjuster to advocate for your interests. Also, take some time to review Florida’s Homeowner Claims Bill of Rights, which outlines timelines and expectations for insurers to respond and settle claims, ensuring you know your rights throughout the process.
Begin Cleanup of Debris
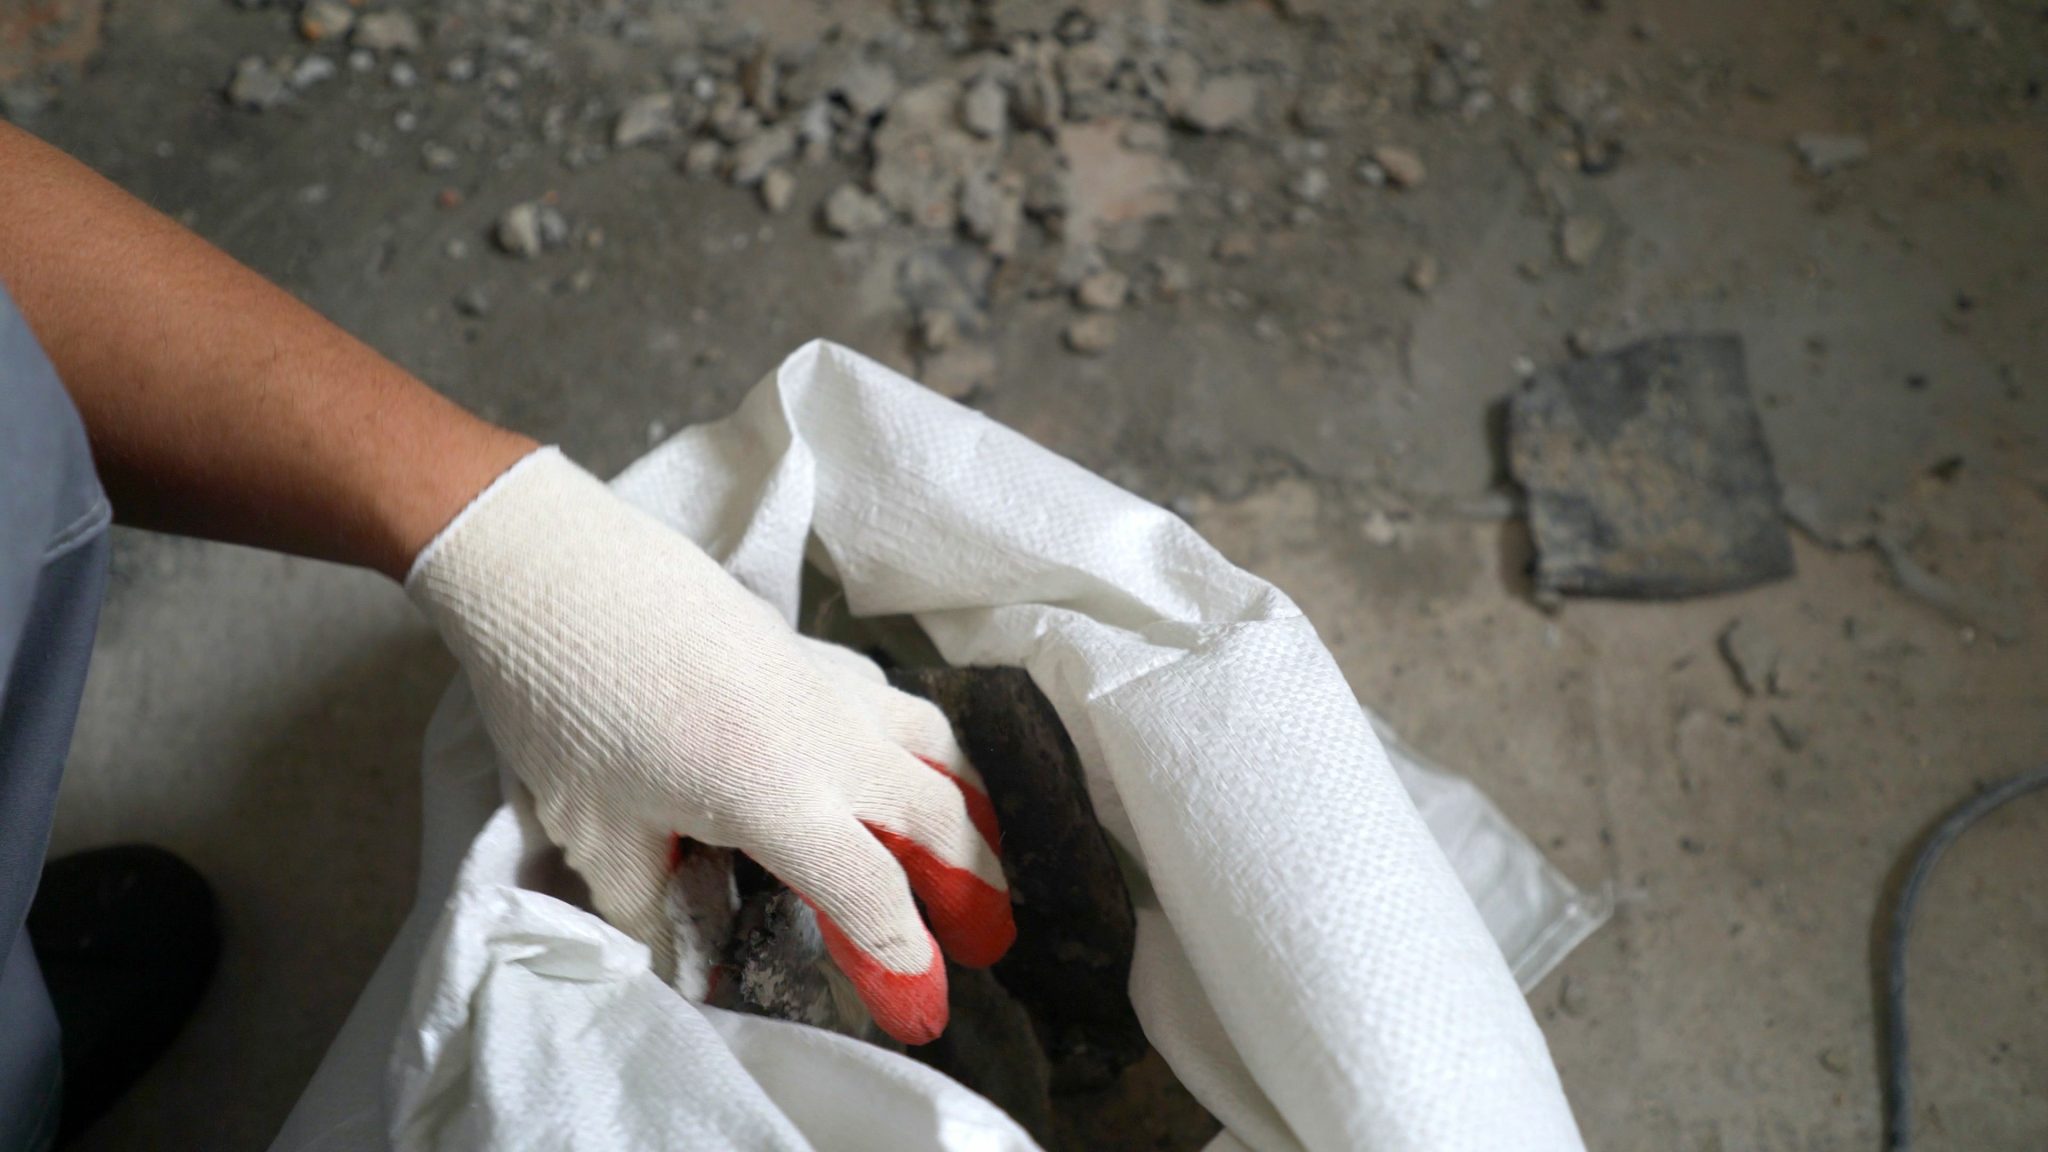
Once it’s safe to return to your property and you’ve documented all damage, you can begin the cleanup process. Post-storm debris often poses hidden risks, so prioritize safety by following these guidelines:
Gather Protective Gear
Equip yourself with heavy-duty gloves, sturdy boots, eye protection and a mask. This gear will help protect you from sharp objects, dust and other potential contaminants as you work.
Sort and Separate Debris
Organize debris into categories to simplify disposal:
- Vegetation: Branches, leaves and other plant material.
- Construction Material: Damaged roofing, siding and other building materials.
- Household Hazardous Waste: Items like batteries, paint and cleaners. Most Florida counties have designated collection sites for hazardous waste to ensure safe disposal.
Handle Hazardous Materials Carefully
For items such as paint, batteries and cleaners, follow local guidelines for disposal, as improper handling can pose environmental and health risks. Avoid burning any debris, as this is restricted in many Florida counties to maintain air quality.
Use Caution When Lifting
Lift heavy debris using your legs rather than your back, and ask for help with large or awkward items to avoid injury.
Consider Professional Help for Complex Issues
If you encounter structural damage or mold growth in areas affected by flooding, consider hiring professionals. Mold can spread quickly and pose health risks, so professional remediation may be necessary to ensure a safe environment.
Stay Alert for Scams
Unfortunately, post-storm recovery can attract unlicensed contractors looking to take advantage of homeowners. Only work with reputable, licensed professionals and avoid anyone requesting full payment upfront.
Check Local Guidelines and Resources
Many municipalities set up temporary collection sites after major storms, and each may have specific instructions for disposing of different types of debris. Stay informed of local updates to make sure you’re following proper procedures.
Make a Plan for Larger Repairs
Once immediate safety concerns have been addressed and damage has been assessed, it’s time to focus on planning for significant repairs. This stage requires careful financial planning, thoughtful contractor selection and a realistic project timeline to ensure a smooth path to restoring your home.
1. Financial Planning and Funding Options
Start by reviewing your insurance claim status and any anticipated payout, which can provide a foundation for your repair budget. If the insurance doesn’t cover all the costs, explore additional financing options. Home equity loans or lines of credit can be helpful, and for Florida residents, Florida PACE offers a way to finance storm-related improvements with no upfront costs, paying it back over time through property taxes.
2. Prioritizing Repairs
As you organize repairs, prioritize structural and weatherproofing needs to prevent further damage. Address issues like roof stability, window repairs and any areas that could lead to leaks or water intrusion if left unattended. Once these critical repairs are managed, you can plan for more cosmetic updates.
3. Selecting a Contractor
Choosing the right contractor is essential for quality repairs. Start by obtaining multiple quotes from licensed, insured contractors, ideally those with experience in storm damage restoration. Verify their credentials and check references to ensure they have a proven track record. Beware of unsolicited offers or contractors who push for immediate commitments — trusted professionals will allow you time to review terms and make an informed decision.
4. Creating a Project Timeline
With a contractor selected, develop a timeline that accounts for the scope of work, potential material shortages and labor availability, which can vary after major storms. Coordinate with your insurance company to ensure inspections, approvals and payouts align with your project’s milestones.
5. Understanding Permits and Local Regulations
Before work begins, research local building codes and permitting requirements. Your contractor should be responsible for obtaining any necessary permits, but it’s wise to stay informed of what’s required to avoid delays.
6. Documenting the Repair Process
Keep detailed records of all communications, contracts and expenses throughout the project. Document progress with photos and videos, capturing each stage of the repair process. This information may become useful in the future.

Preventing Future Storm Damage
Protecting your home from future storms begins with resilient property and hurricane-hardening upgrades that can minimize damage and reduce repair costs. Consider these key enhancements:
- Stronger Roofing Materials: Your roof is the first line of defense in a storm. Reinforce it by installing hurricane straps to secure the roof to the walls, helping prevent wind uplift. Upgrading to impact-resistant shingles or metal roofing can also minimize damage from high winds and flying debris. To further protect against water intrusion, consider adding a secondary water barrier beneath your roofing material and ensuring all roof penetrations are tightly sealed.
- Reinforced Windows and Doors: High winds and debris can easily damage standard windows and doors, so installing impact-resistant options is a smart investment. Impact-resistant windows and doors are designed with a laminated polymer layer between glass panes, which holds the glass together even if shattered. If a full replacement isn’t feasible, hurricane shutters or impact-resistant film are alternative options to reinforce existing windows and doors.
- Flood Mitigation Strategies: Flooding is a common threat in hurricane-prone areas. Elevate essential systems, such as HVAC units and electrical panels, above potential flood levels to protect them. Installing backflow valves on sewer lines can prevent sewage backups, while landscaping adjustments, like grading your yard away from the foundation, improve drainage and help keep floodwaters at bay.
- Emergency Preparedness: It’s also wise to establish an emergency preparedness plan. This includes gathering essential documents, medications and supplies in a “go bag,” setting up a family communication plan and staying informed on local emergency resources. Taking these steps in advance can provide peace of mind and help protect your home and loved ones when storms approach.
Florida PACE offers a practical way to finance these preventive improvements with no upfront costs for Florida residents. With PACE financing, eligible upgrades, such as storm-resistant roofing or impact-resistant windows, can be repaid through your property taxes over time, making long-term resilience affordable. By investing in these protective measures, you’re not only enhancing your property’s durability but also adding value and potentially qualifying for insurance discounts.
Ready to strengthen your home against future storms? Apply for PACE funding to get started on making your home’s vital improvements more affordable and stress-free.


